Top Tips for taking Interior Photographs
It’s true that anyone can take a photograph but when an image is carefully considered and curated to include the best angle and light amongst other things, it instantly becomes more valued and appreciated. I find it so frustrating when an interior is absolutely beautiful but the photography completely lets it down and becomes a distraction!
There are many articles out there providing interior photograph tips, however many encourage investing in professional equipment such as tripods and lenses and I am not about that at all! I wanted to create a simple guide that is accessible and easy for all to follow, using just your typical phone and some great curation and editing techniques. So without further ado, let’s begin!
Work out when the best time of day is to shoot.
Cloudy days can be great for shooting as you can take advantage of the even and diffused light, whilst lots of sunshine can create intense shadows, so make sure you work out what best suits the scene in front of you. Take note of the time when the best shadows appear and how they affect your interior.


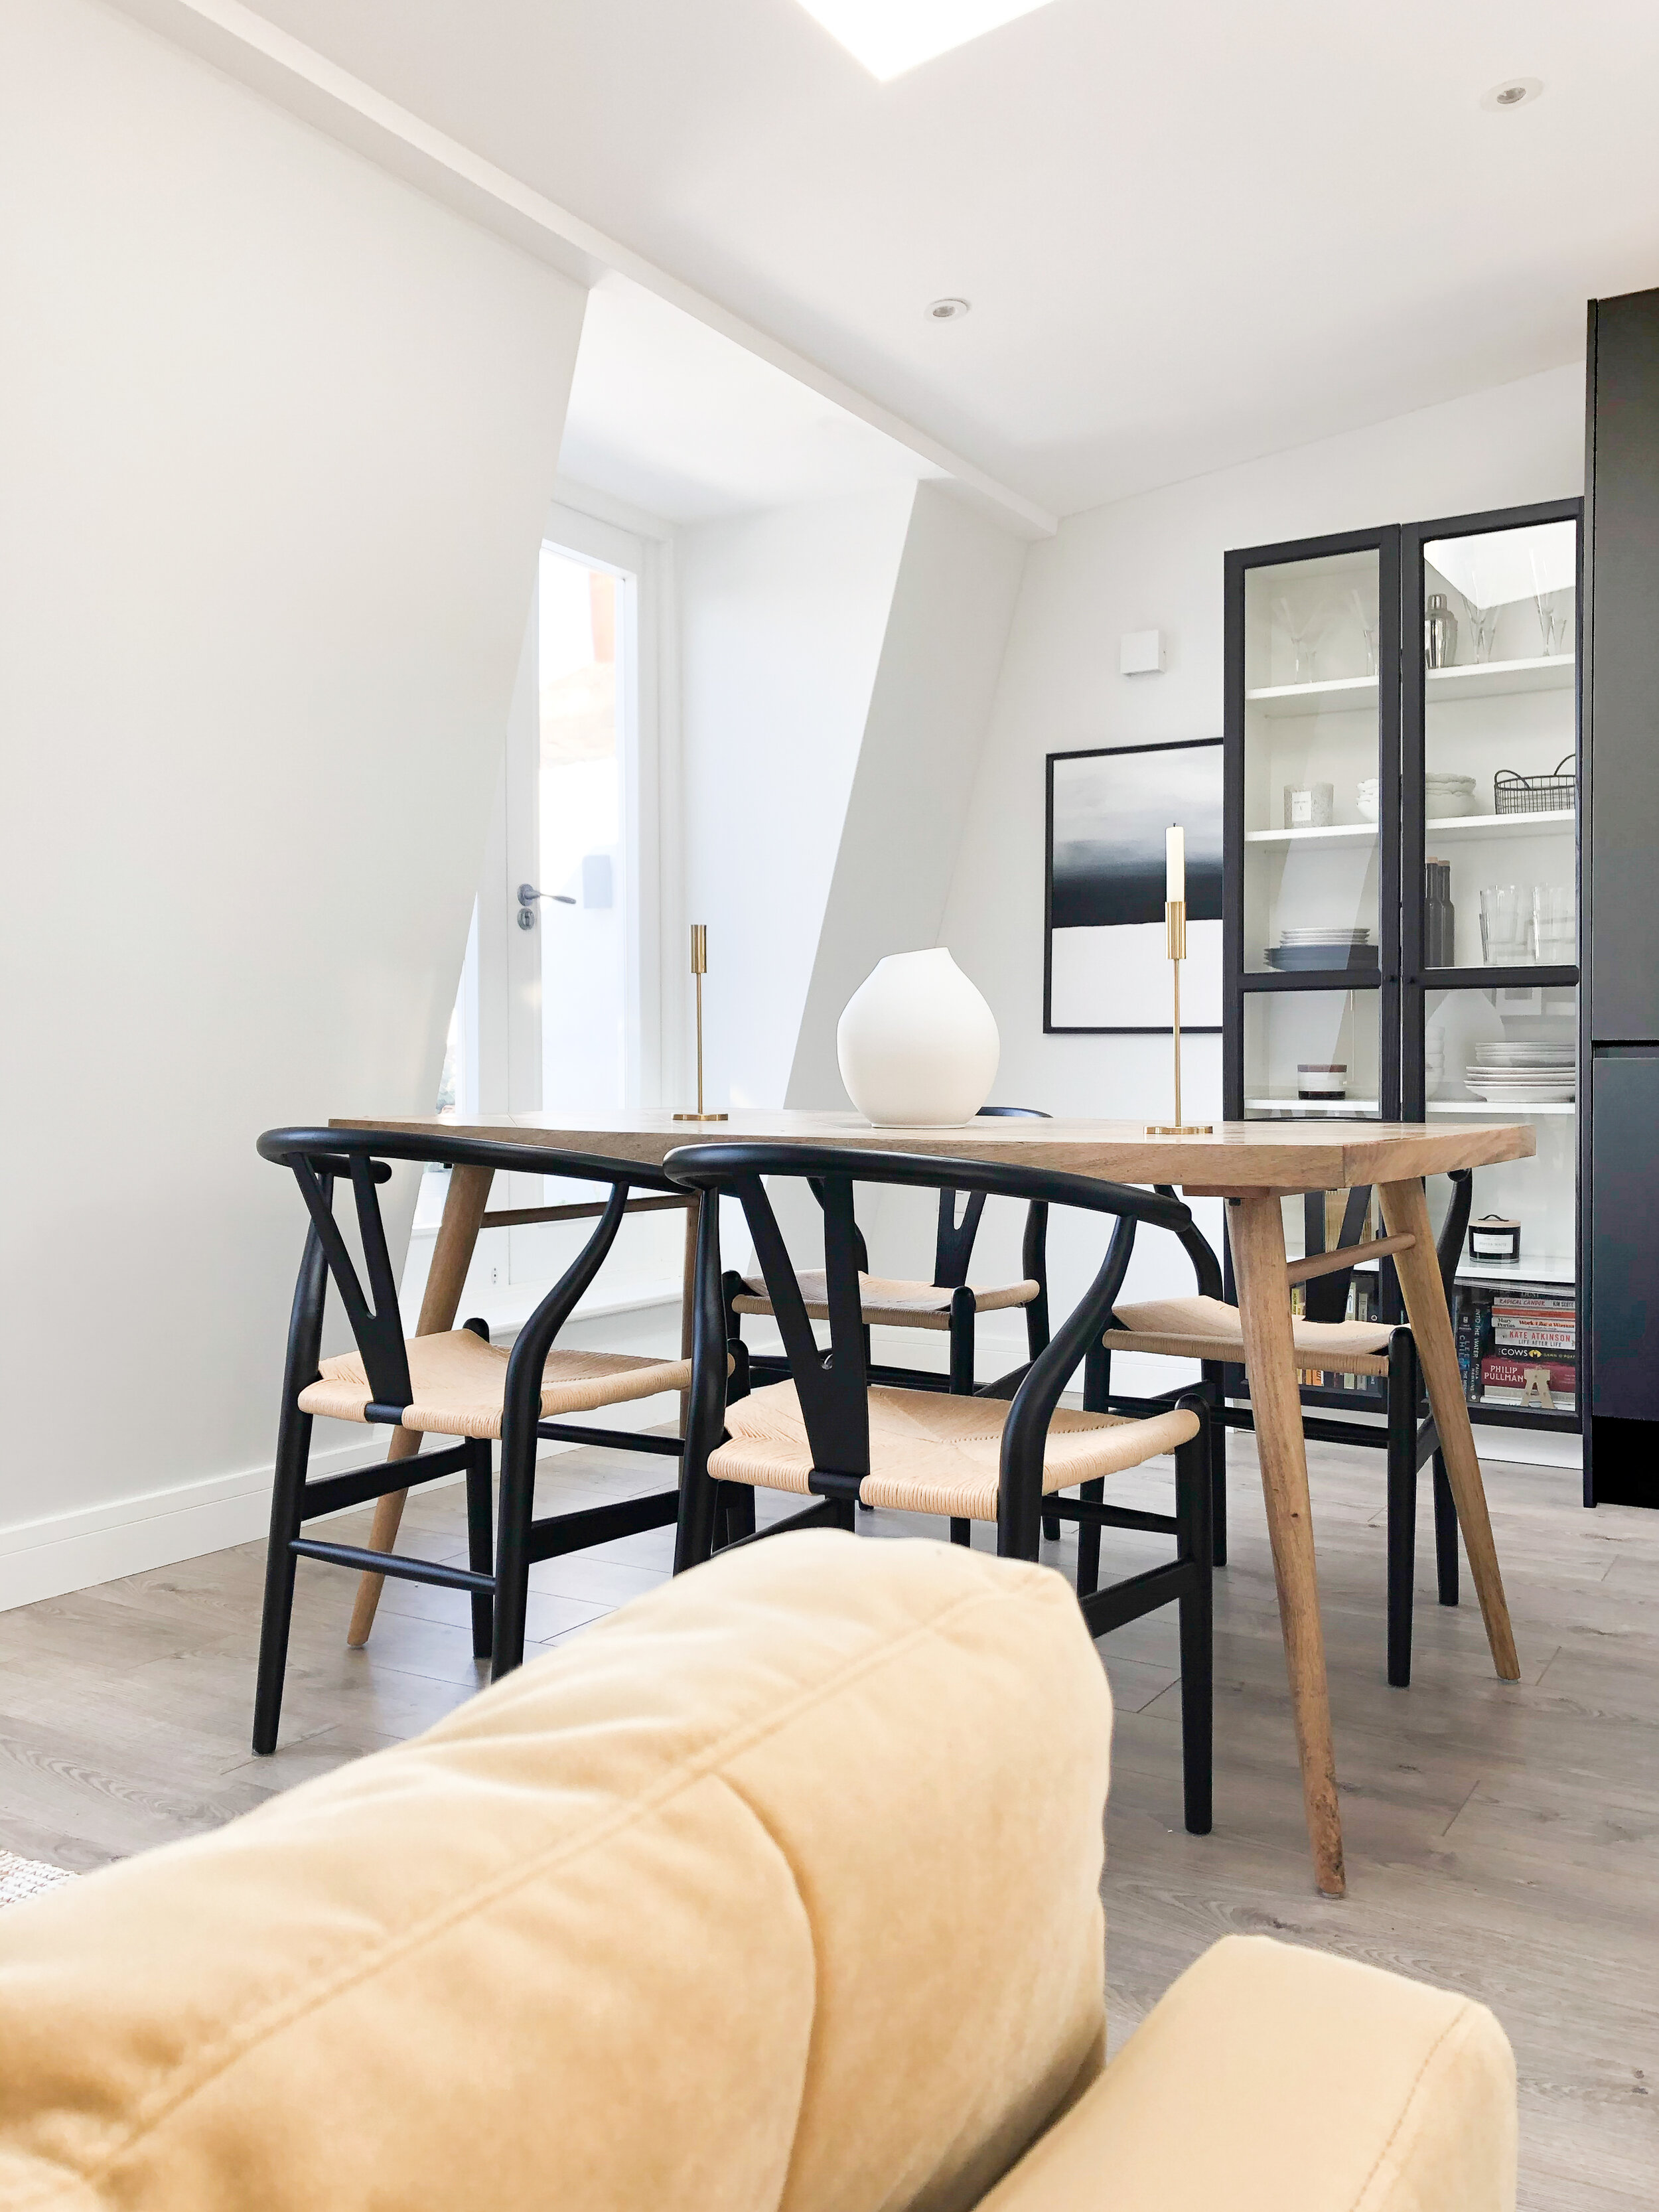
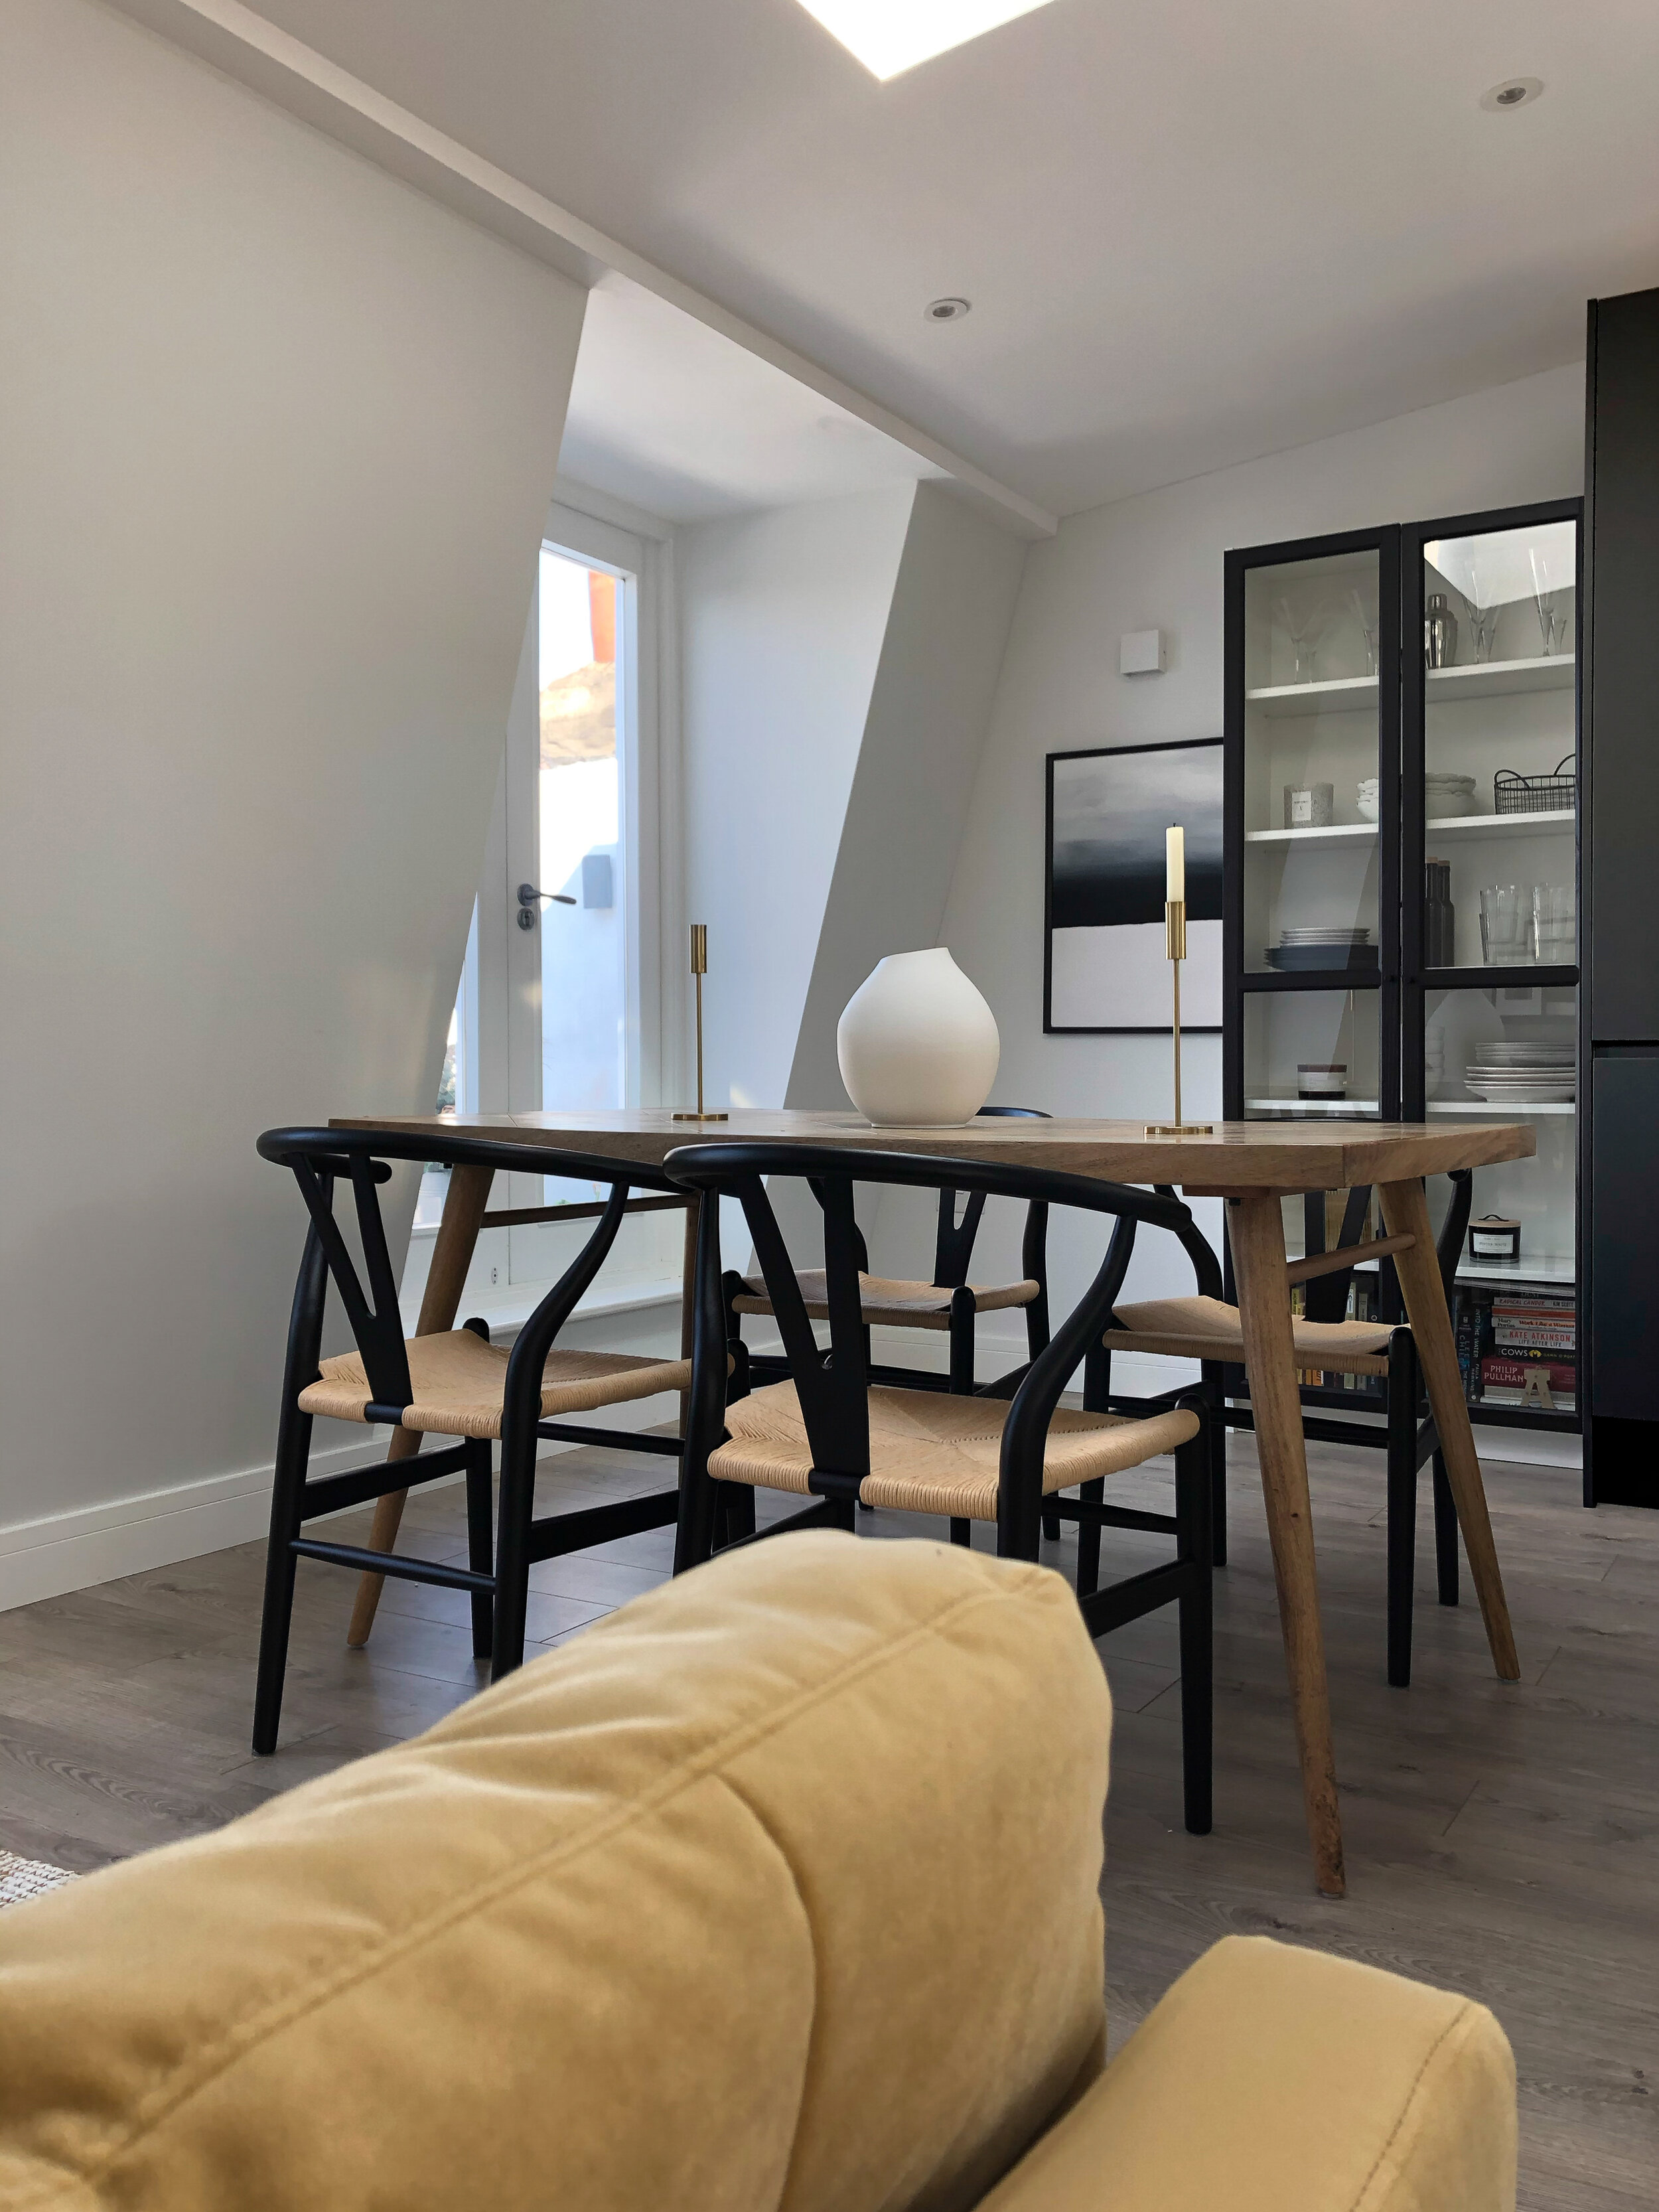
Next, you need to style the space.
I’m sure this is already done, but what looks balanced and just right in real life can sometimes become distracting and too much in one condensed image. So do some tests shots, one with everything as per normal and the others taking some items out of shot. You’ll find that less is more and that the shot is even more successful when not everything is in it.
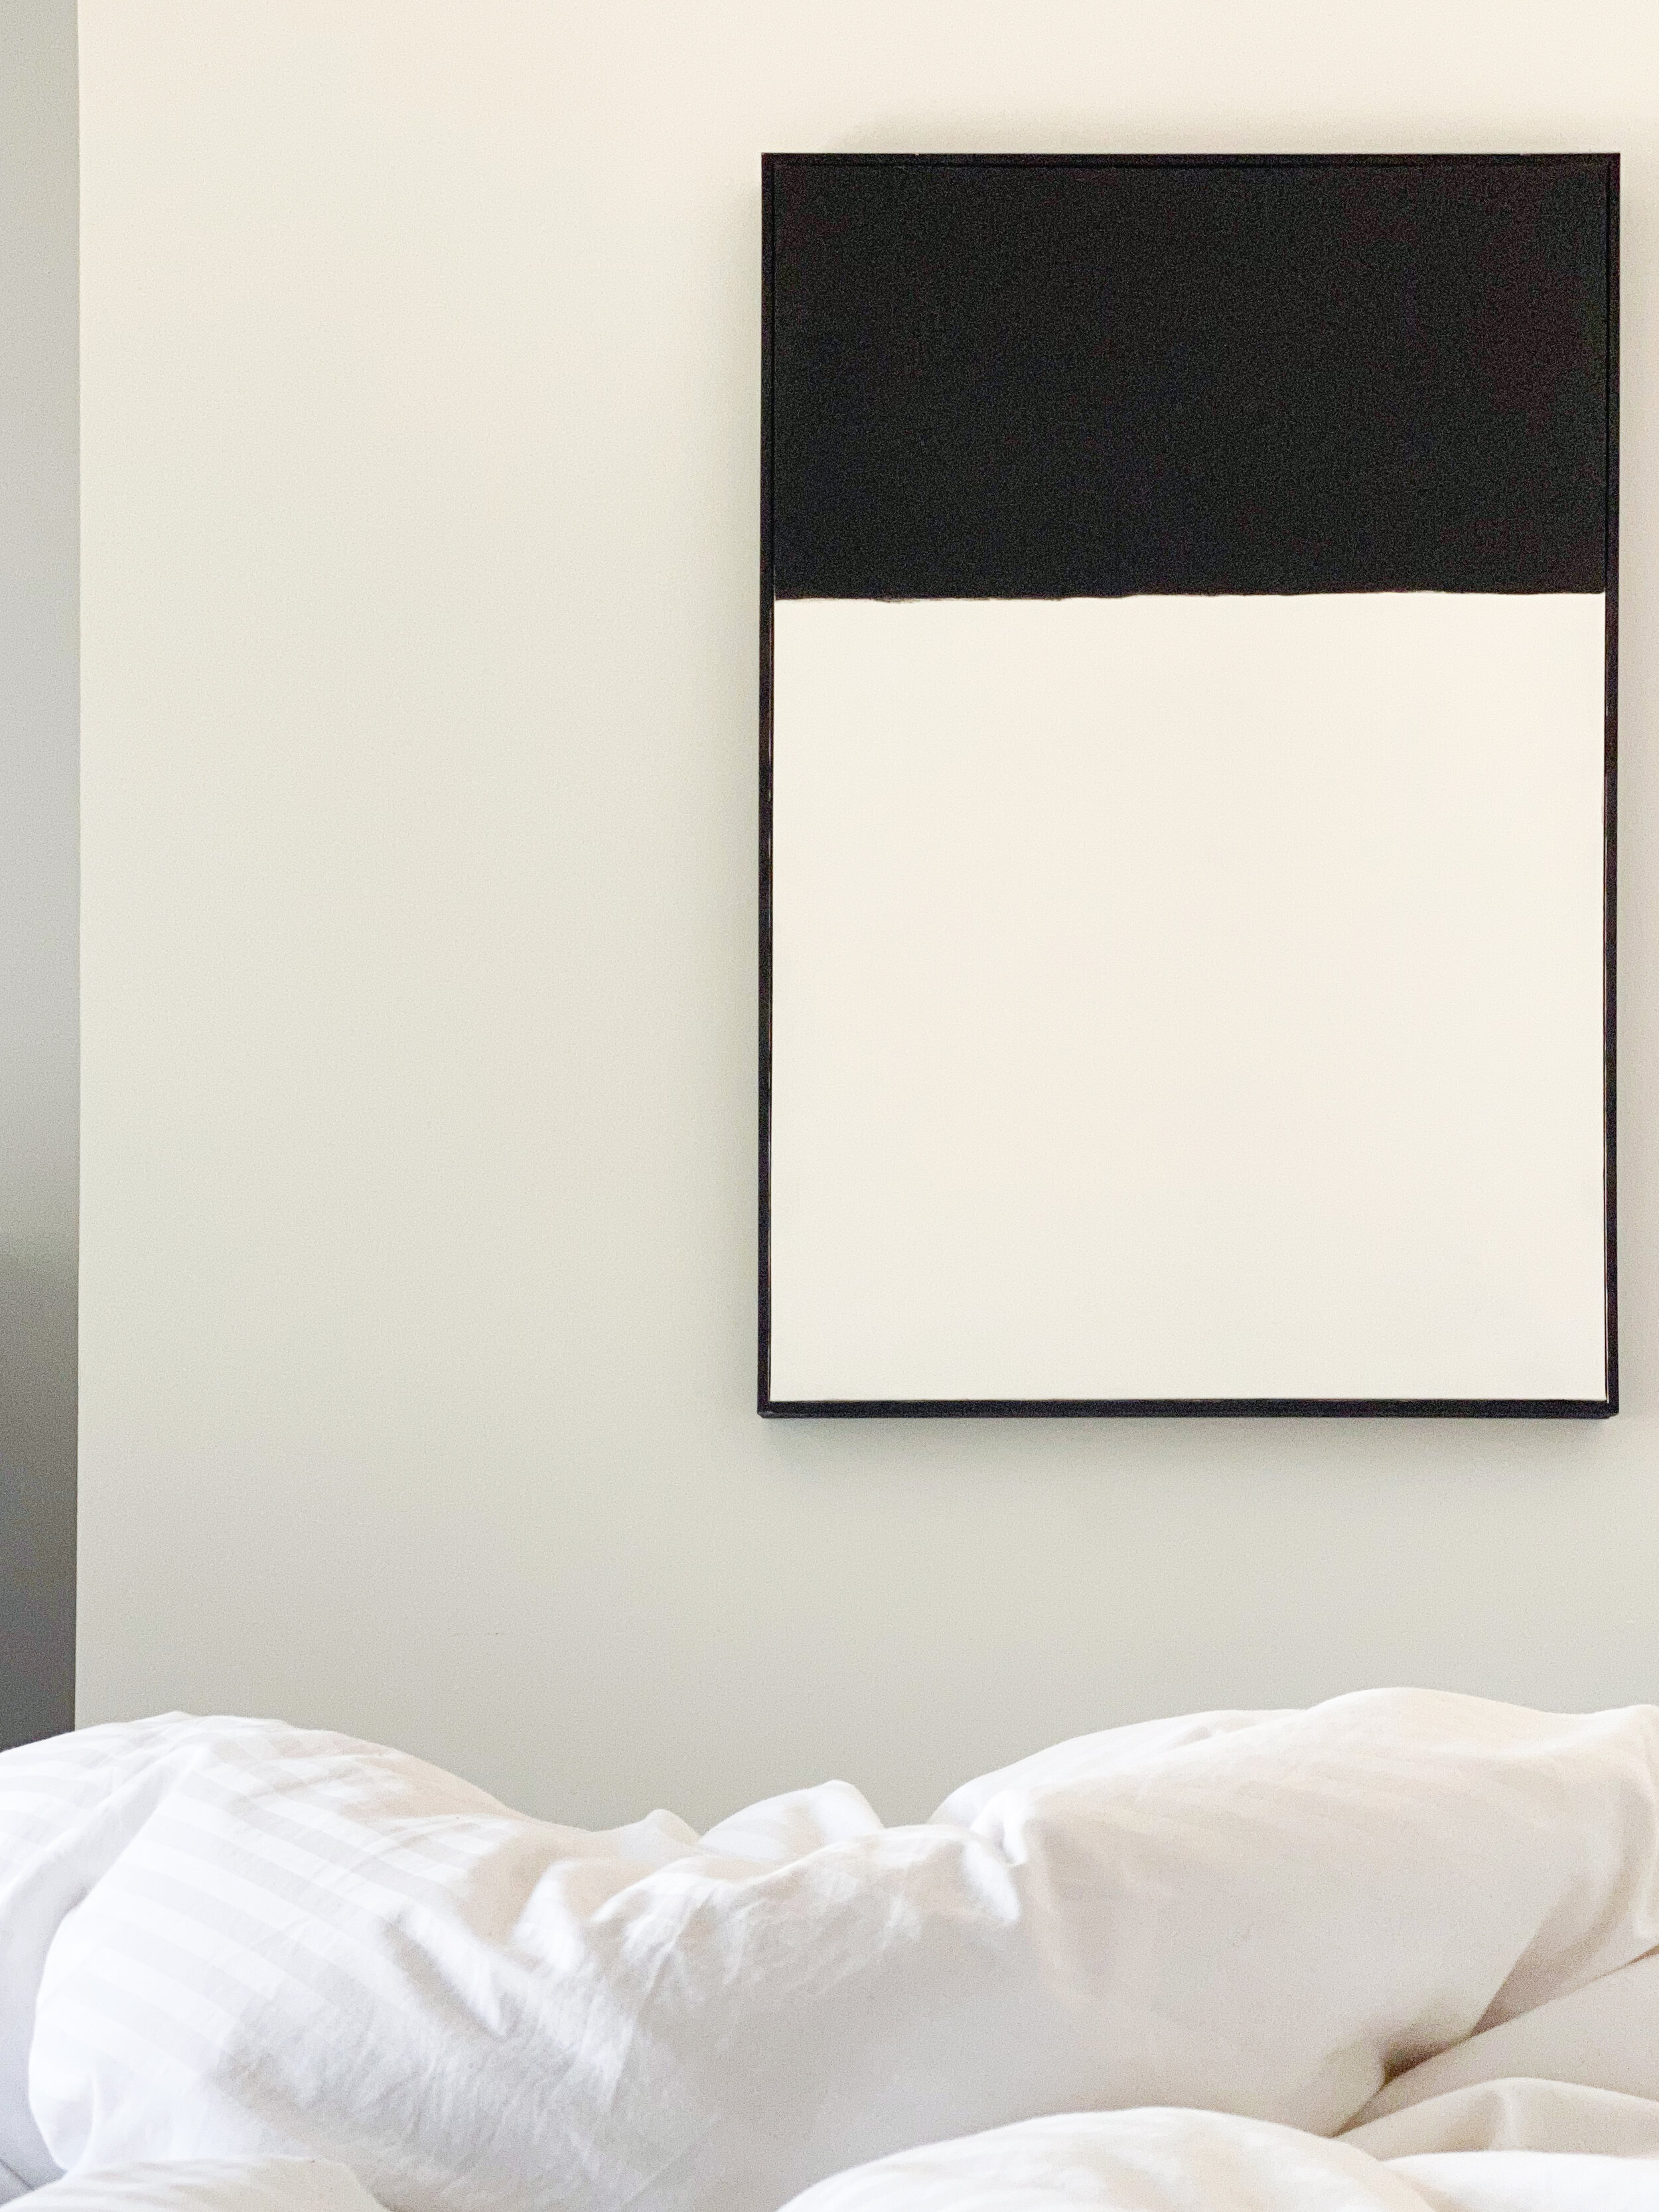
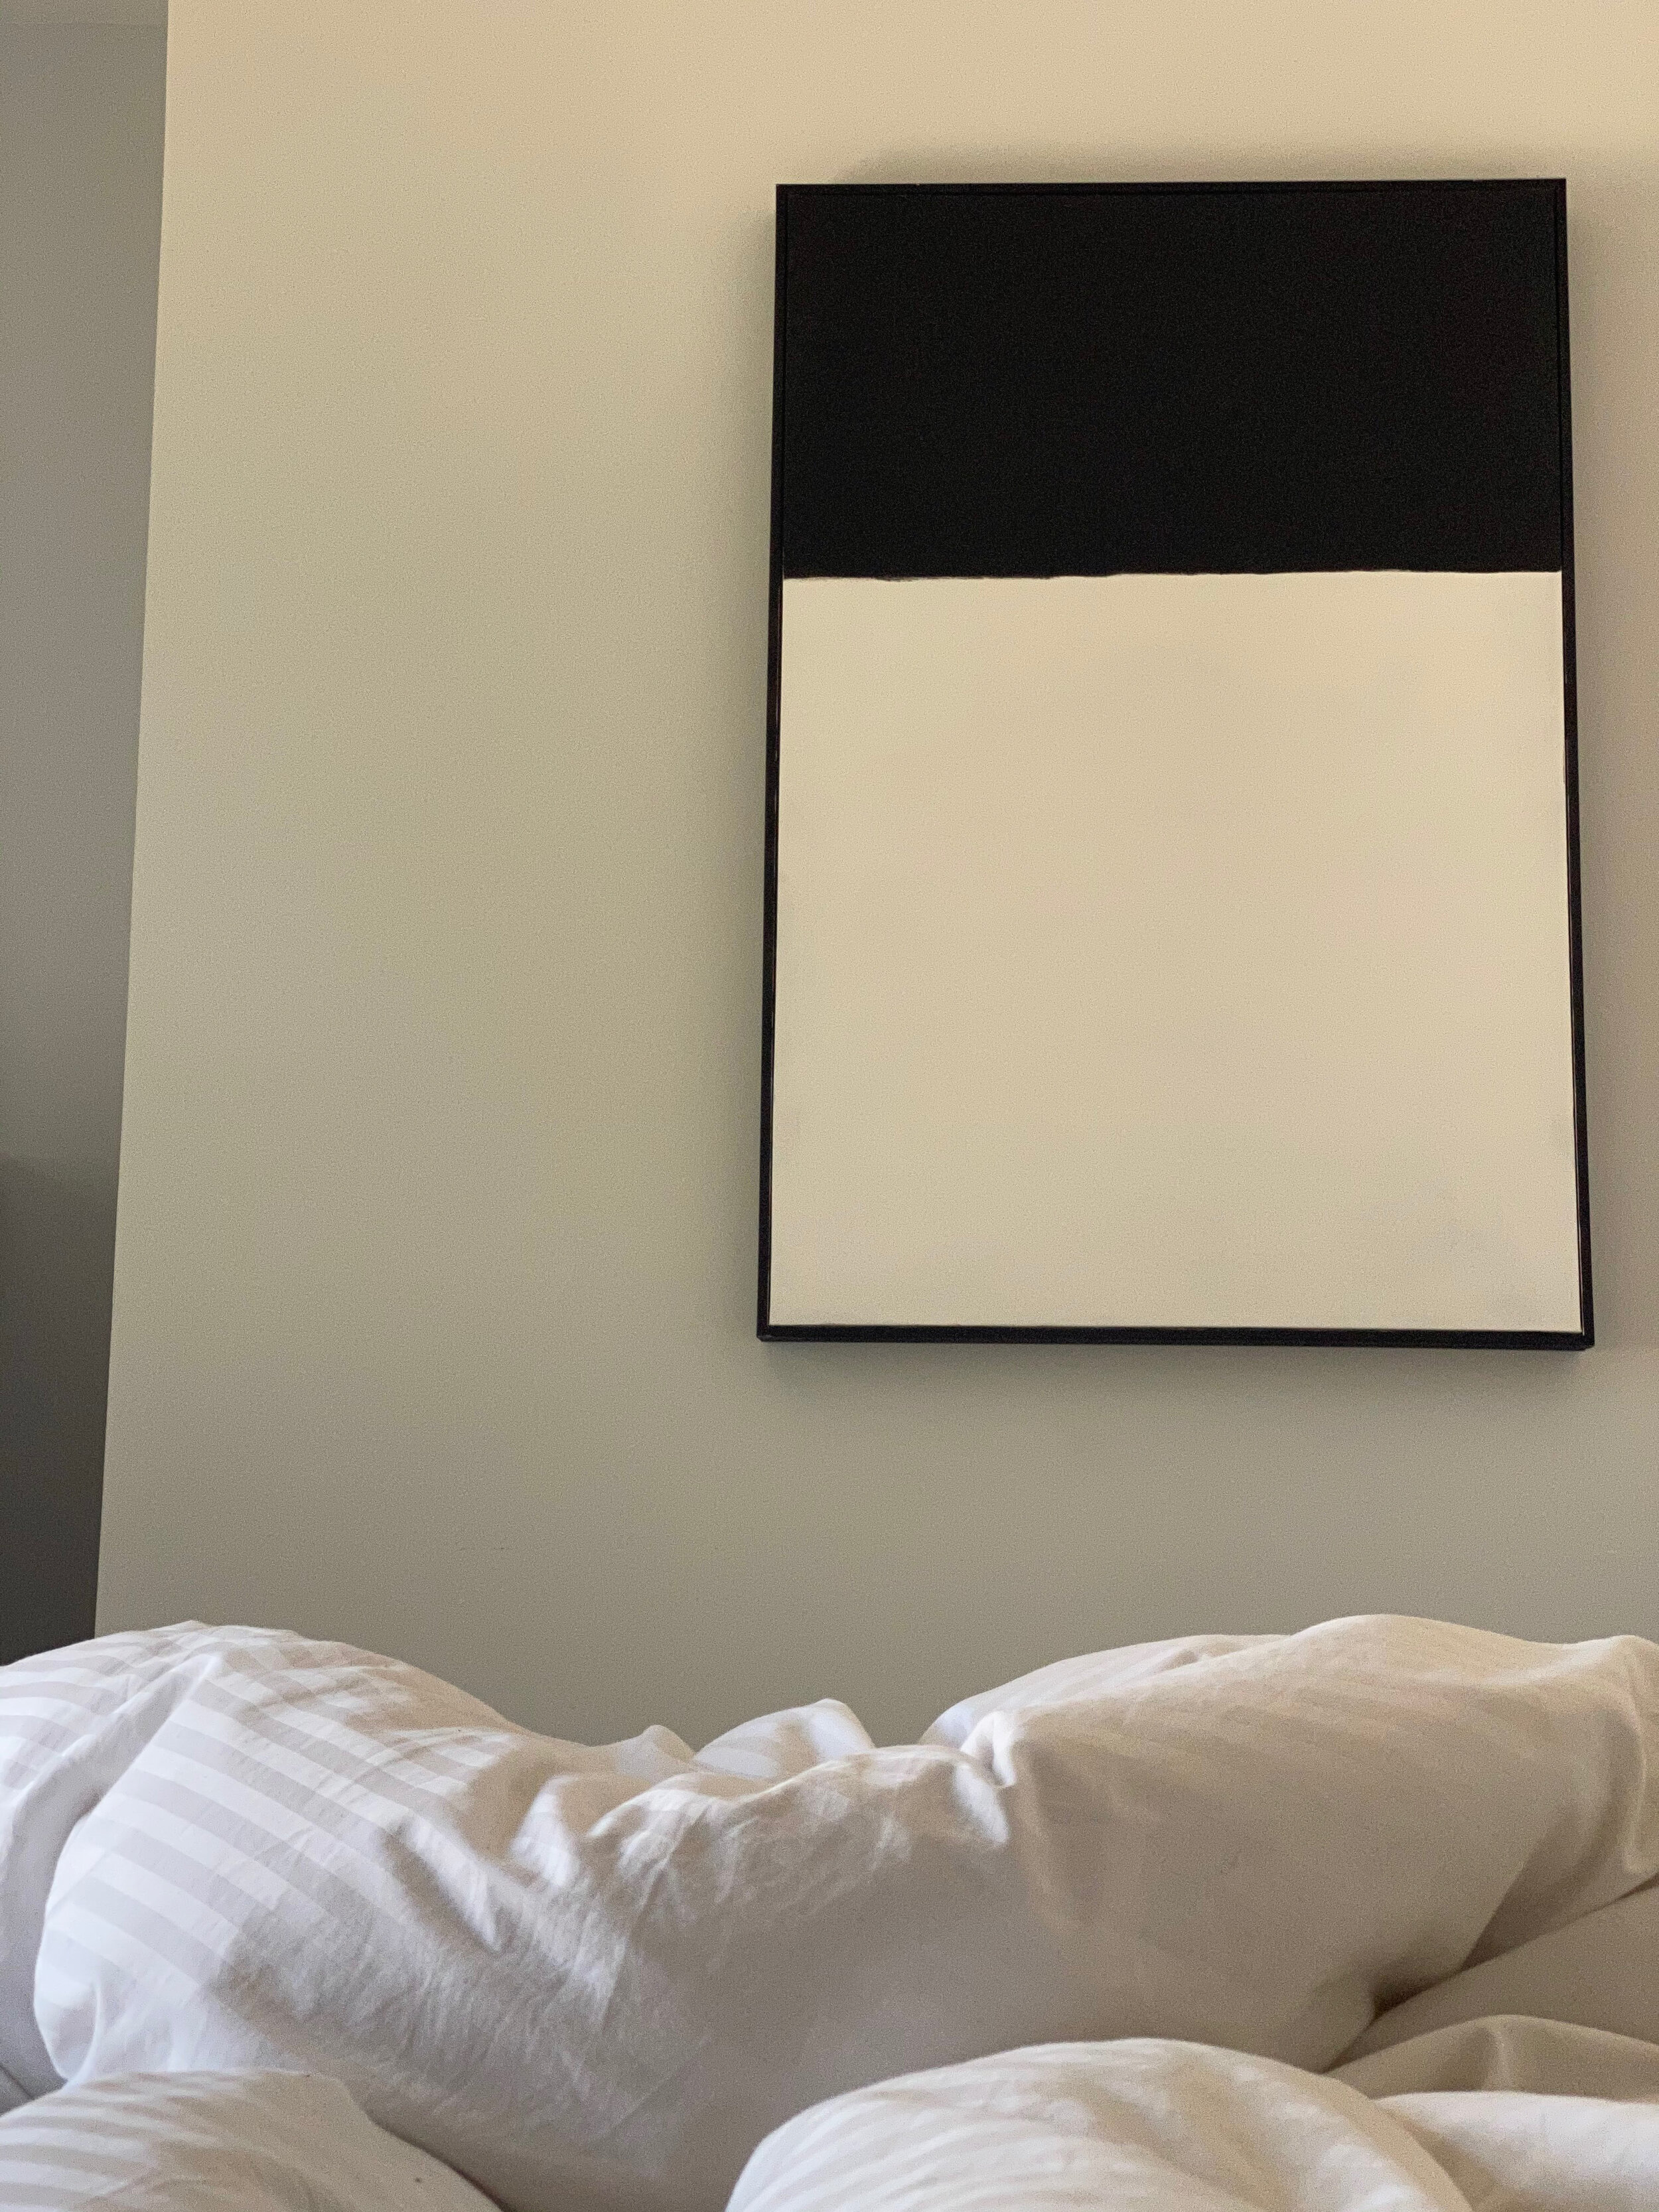
shoot from between the hip and chest.
Whether you are shooting an entire kitchen or items on the countertop, you should always remember to capture any interior between these two parameters - for me, that’s roughly between 1-1.5m from the floor. It’s said that this captures an image that is truer to what your eye naturally sees and will make the interior feel in proportion and balanced, which I definitely agree with, try it and you’ll see what I mean!
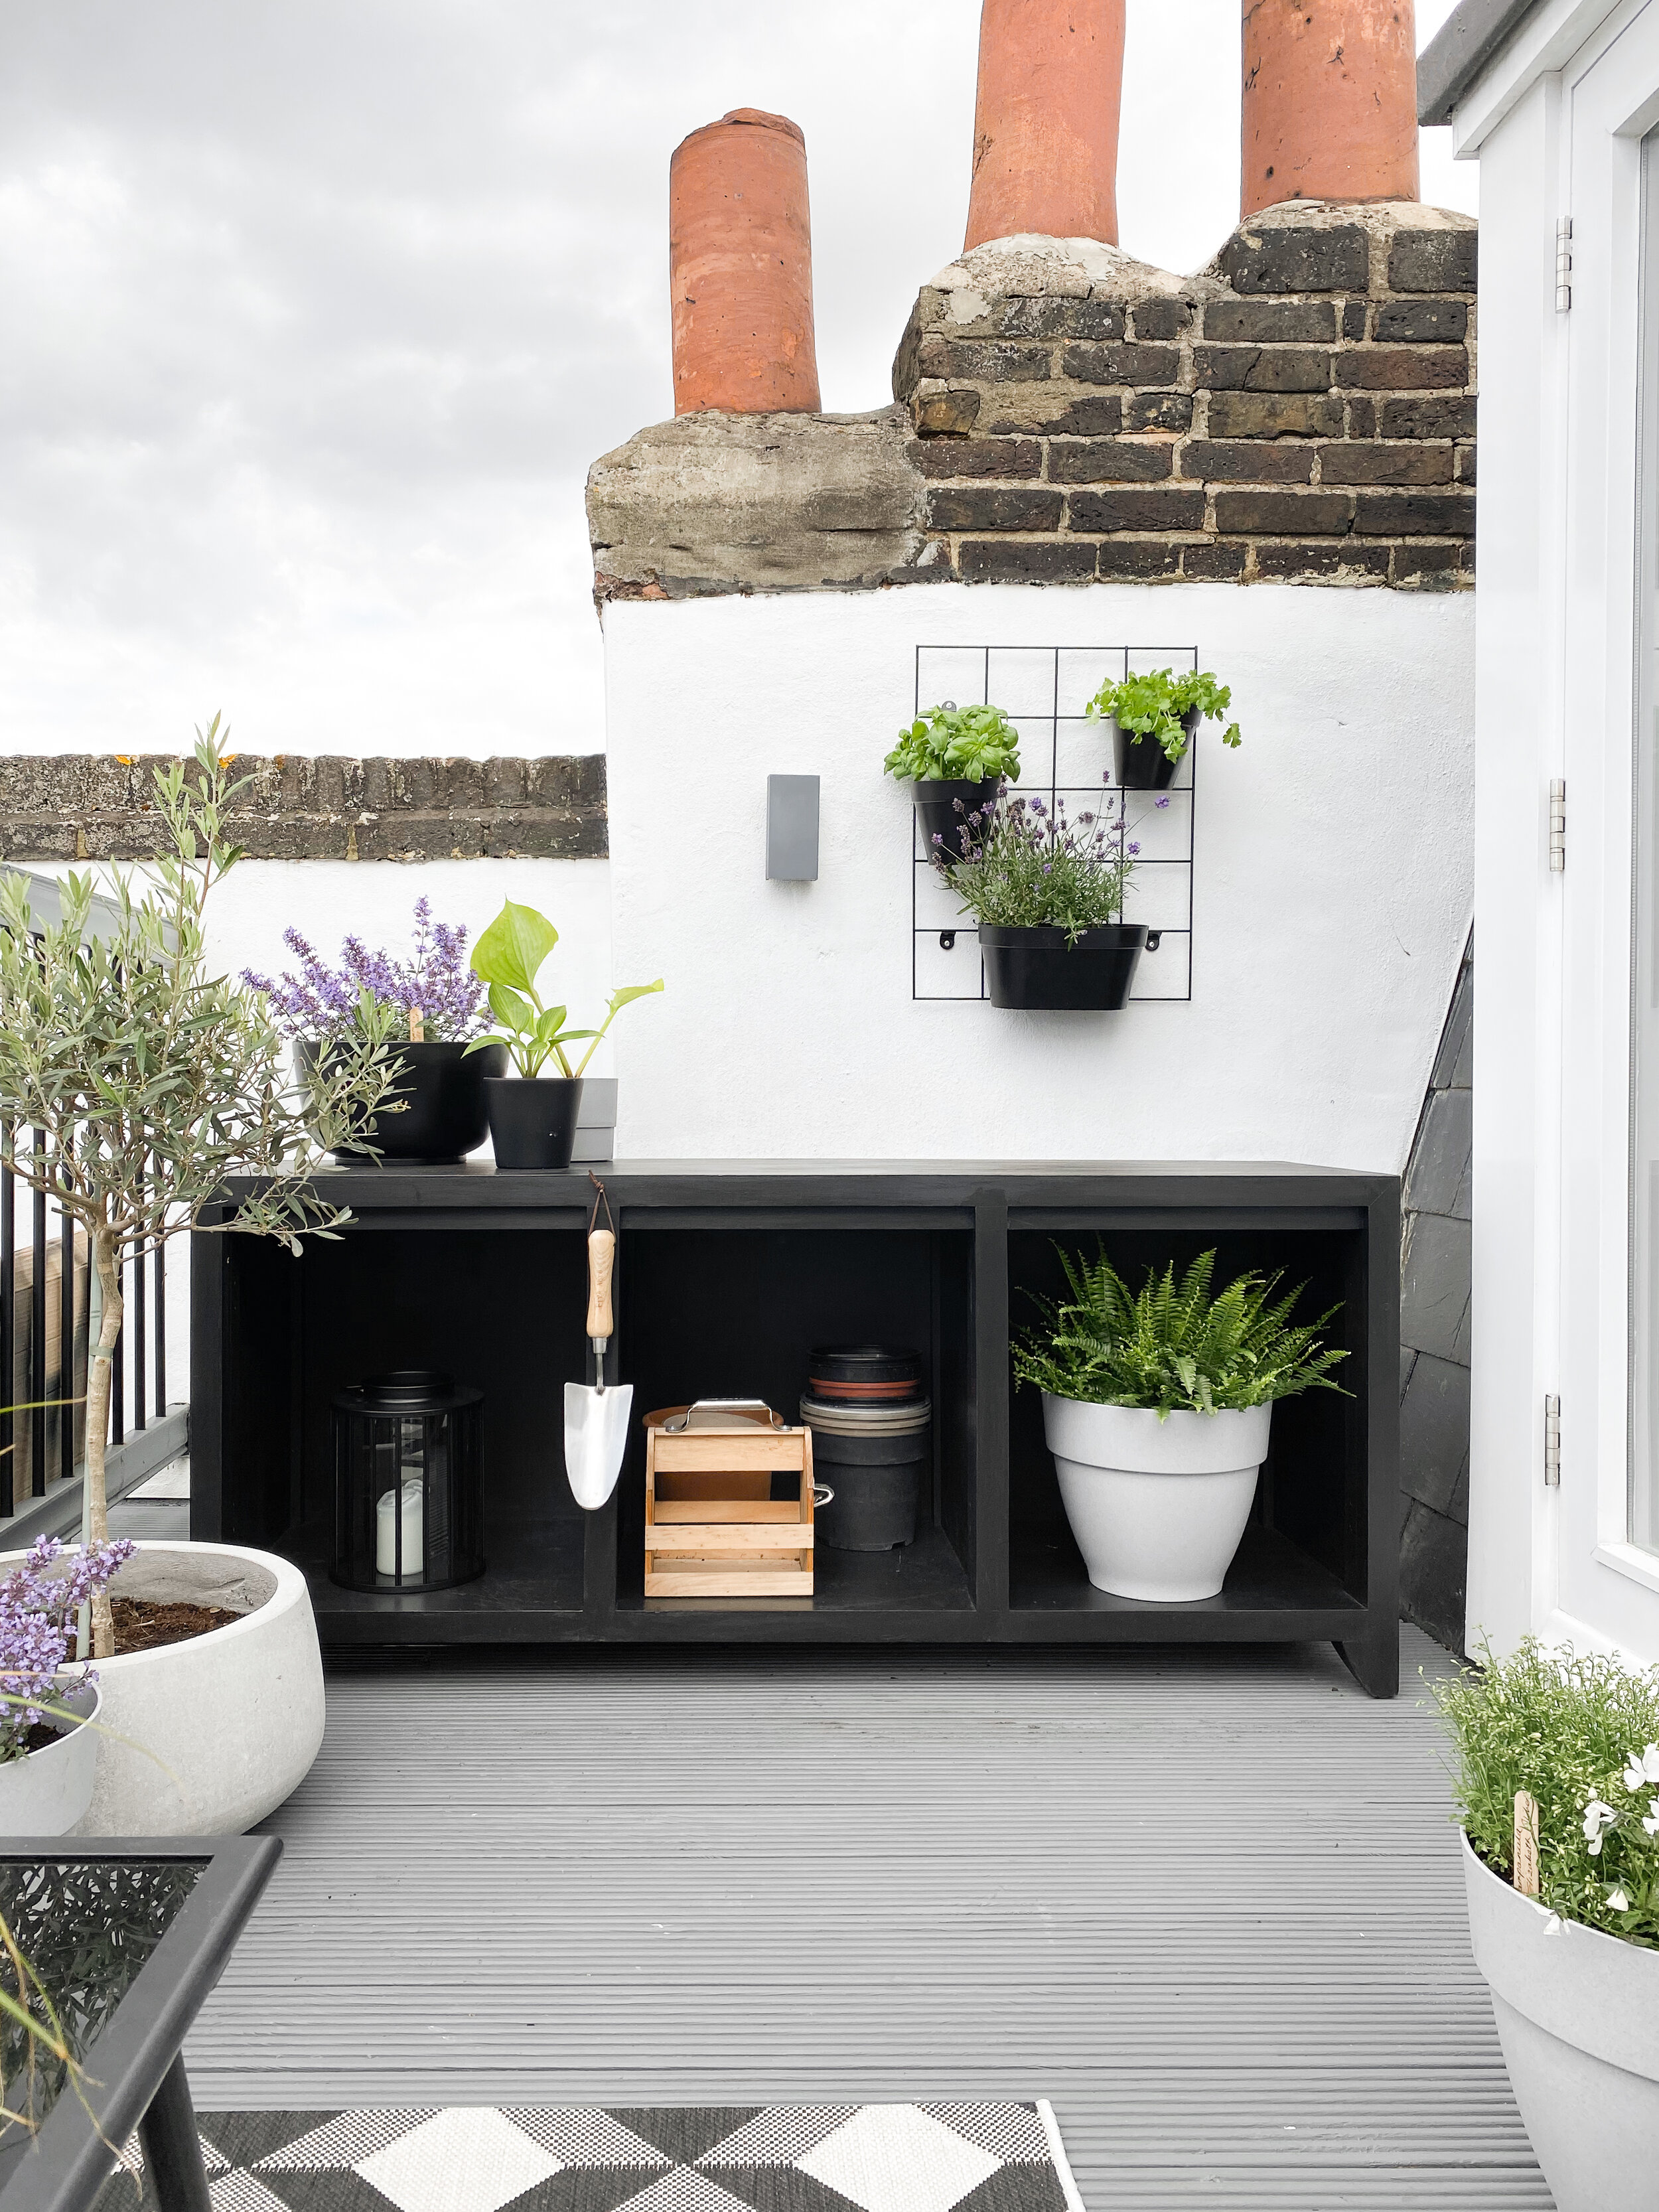
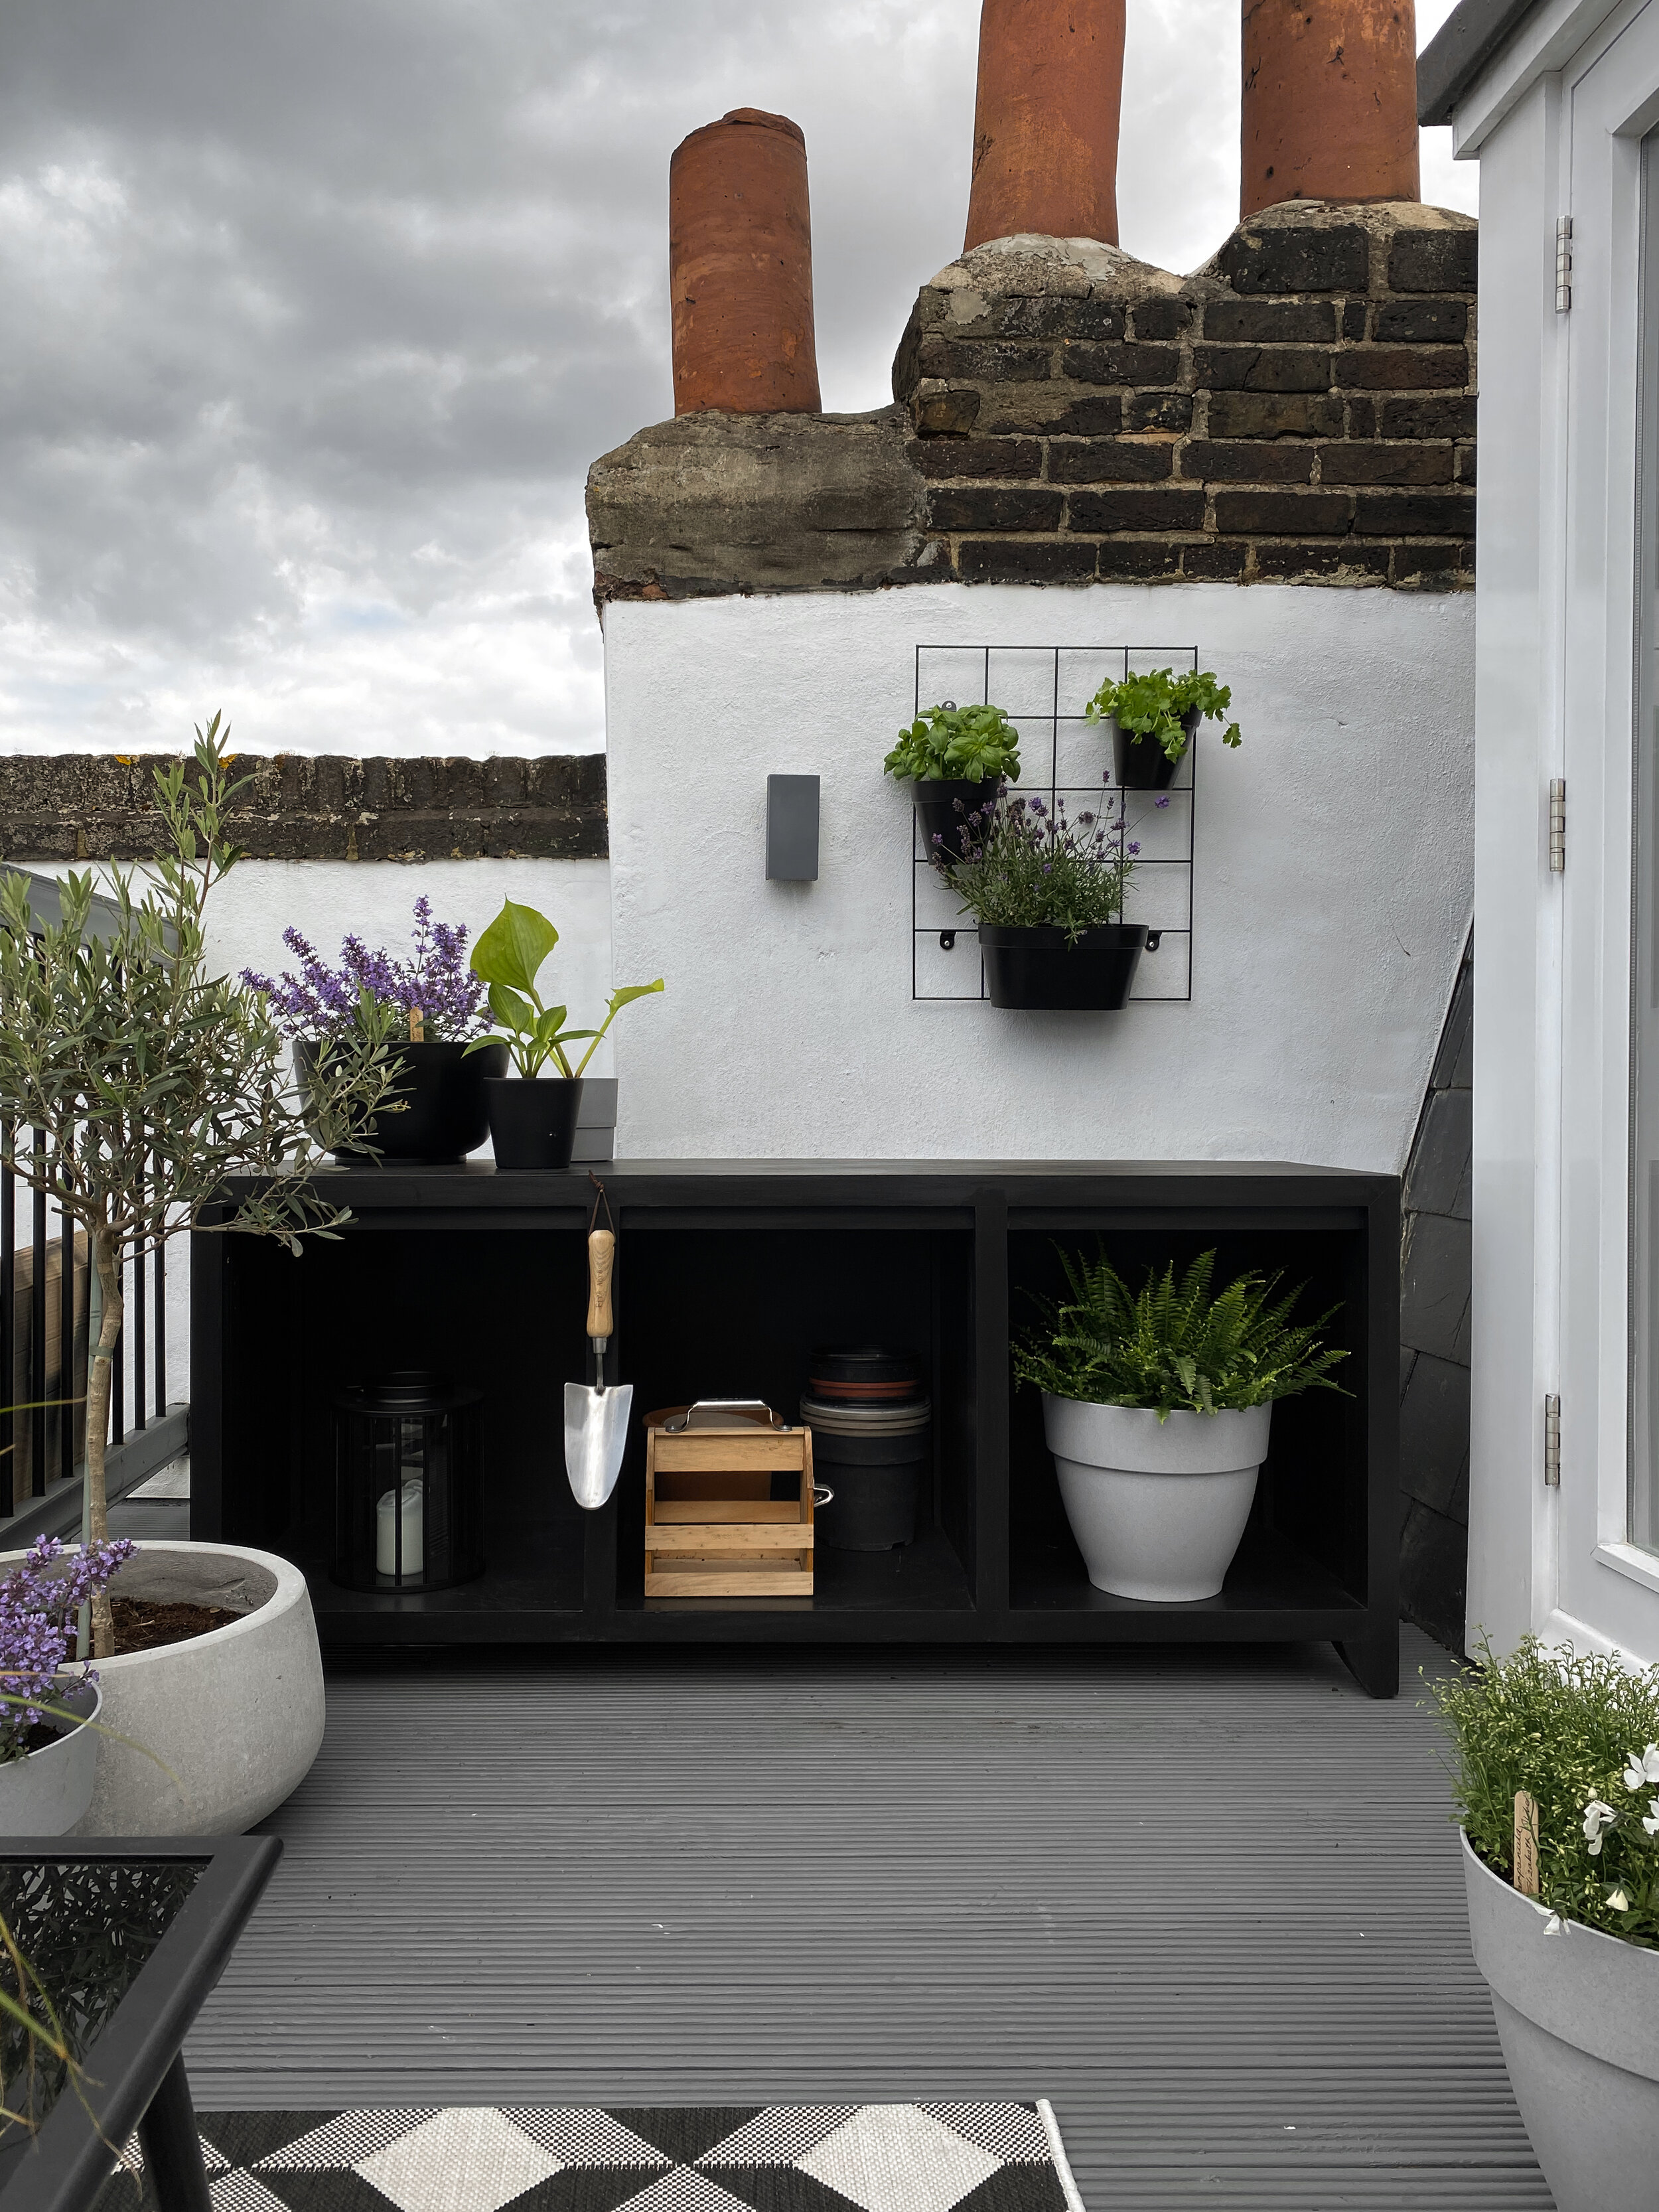
Be conscious of vertical lines
Although it can seem like a good idea to utilise the 0.5x feature on an iPhone camera, don’t! It will skew the space, making it feel stretched and therefore inauthentic. Be conscious of your vertical elements at all times such as the walls and cupboards, ensuring that you shoot them straight. To get help with this technique, I recommend enabling the camera grid on your phone which uses the rule of thirds and then let any compositional elements follow these lines.


Exposure is your best friend
Be sure to tap one of the brightest areas of your photograph, it may look incredibly dark but you’ll be able to edit this later on without affecting what’s beyond the window as an example. The HDR setting on your phone should automatically detect how best to light the scene but if you want to override this preference simply press and hold to lock your preferred exposure in.
Find an editing app that suits you
After taking a few photographs of the same scene, review the images captured to work out which best portrays the interior. I use Adobe Lightroom to edit my photographs but a more accessible alternative to this is the VSCO app. Both let you easily import and edit your RAW photos, and you can use the editing tools to play with the saturation (for example taking away a particularly intense colour in the shot) or the change the perspective if you didn’t quite manage to capture the vertical lines perfectly. Once you’ve done this, you’re ready to share your image with the world!